First project¶
This page guides step by step through the creation and processing of a first SEABIM Editor project, from loading the point cloud to a first final render.
Prepare the files¶
Before opening CloudCompare:
- Place the point cloud in raw PCD, LAS, BIN format in a project folder.
- Cut the cloud into sub-parts
p1,p2, … if needed (see Standard procedure § Cutting). - Stick to the cloud naming convention.
1. Load the cloud in CloudCompare¶
- Open CloudCompare 2.13.
- Drag and drop the cloud into the scene.
- Check that the cloud displays correctly and carries a consistent global offset.
2. Launch SEABIM Editor¶
- Click the SEABIM Editor icon in the toolbar.
- The license check runs (WIBU CodeMeter license required — if your workstation is not yet activated, follow the License activation procedure).
- The launcher opens on the
Hometab by default.
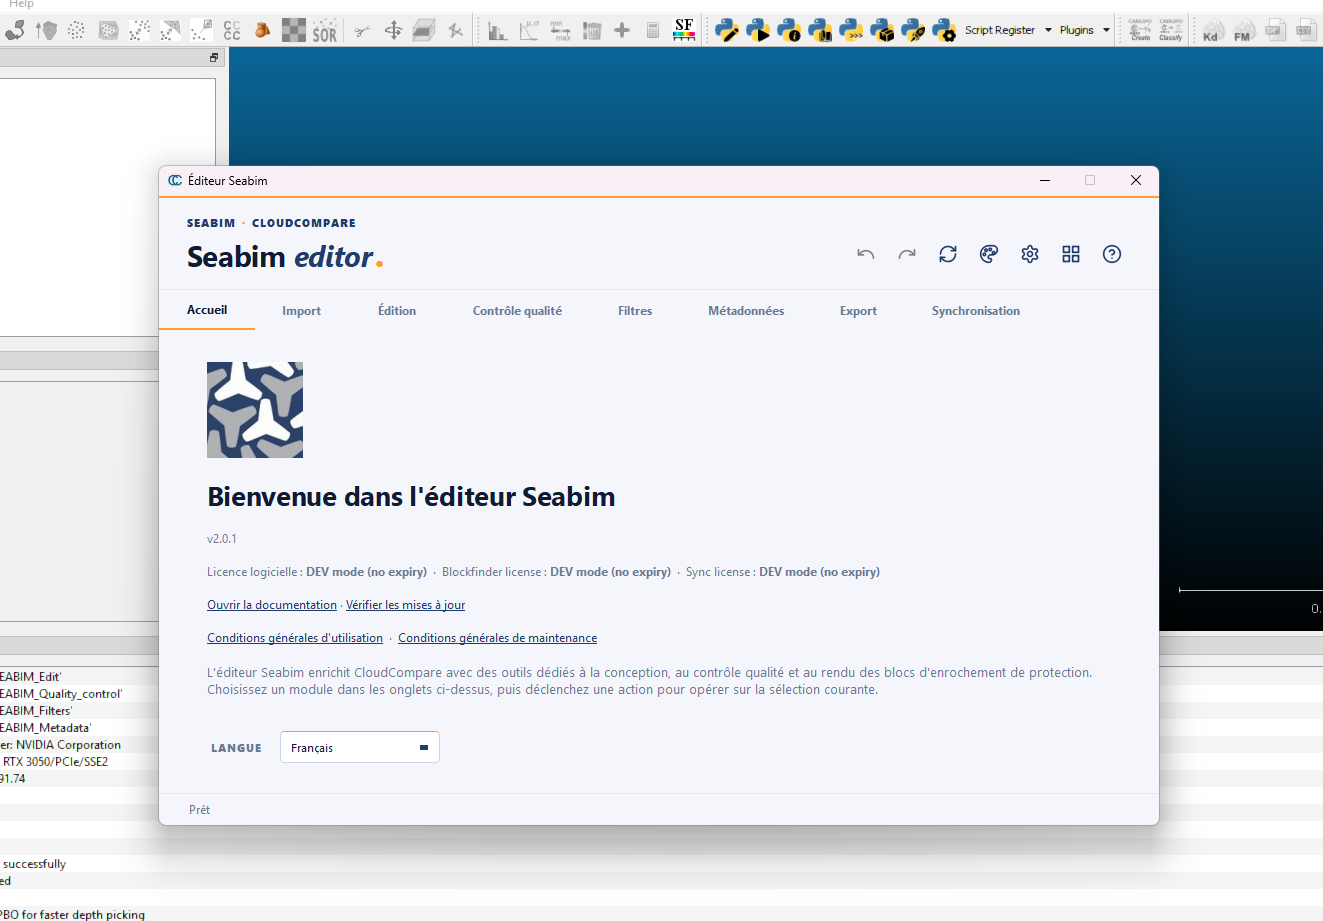
3. Create the reference block¶
Import tab:
- Select the point cloud in the CloudCompare tree.
- Click
Load init block. - Set the block type and volume.
- Validate — a block appears in the scene, anchored on the cloud.
4. Automatic detection (if BlockFinder license)¶
Import tab → Find blocks in a point
cloud:
- Select the cloud and run detection with the default parameters.
- At the end of the computation, a JSON structure appears in CloudCompare's DBTree.
Without a BlockFinder license
Without the BlockFinder feature, you can manually create each block
via Load init block then
Register selection - Adaptive
dist
(Ctrl+E) to register them one by one on the cloud.
5. First filtering¶
Edit tab → Filter blocks:
- Set a score threshold (e.g.
0.30 m) to remove false positives. - Set a distance threshold between blocks if needed (deduplication).
- Validate.
6. Save¶
Export tab → Save JSON:
Name the file following the recommended naming, for example:
7. Check the quality filters¶
Filters tab: compute Out profile, Displacement, Voids,
Contacts (All blocks), Column placement. Quality control tab:
compute Compute accuracy, Overlap, Check for duplicates.
Visualize each scalar field via Change color
scale (Ctrl+L).
8. Manual registration of problematic blocks¶
For blocks in red (high accuracy value) or with overlap:
- Select the block.
Help registerto pre-position and register.- If the block remains bad,
Safe
   delete
and consider recreating it elsewhere.
Use Undo (Ctrl+Z) in case of mistake.
9. Final render¶
Metadata tab → Rename blocks with prefix
(Batch) to
reindex the structure.
Export tab → Export final
render with the desired
filters.
You've completed a full cycle. For the next steps, see the standard procedure which details the typical back-and-forth of a real project.